Wurlitzer Piano Overhaul
- Allison Cort
- May 13, 2024
- 2 min read

Updated: May 1, 2025
Located in the small town of Recovery, Georgia, just off of lake Seminole is At Ease Marina, Campground and Restaurant. The owners have been refurbishing the grounds and buildings for several years and recently acquired a Wurlitzer spinet piano manufactured in 1929, for the restaurant that needed a huge overhaul to play properly. The piano had been sitting in a garage for many years and at one time had been the home to a mouse.
To start off I removed the action which involved disconnecting all the drop wires from the back of the keys as the piano had a drop action. Next I cleaned and regulated the action so that all the parts would function. I also removed all the keys for cleaning and replaced the damaged balance rail felts


The next step was to clean the keybed and balance rail posts from the mouse damage. I vacuumed all the debris and sanitized the wood of the keybed then removed rust from the balance rail posts and replaced old balance rail bushings.


Because the piano was sitting in a hot garage for many years, the glue holding the case to the soundboard had melted the adhesion and wasn't supporting the tension needed for the proper placement of the soundboard and action. To fix this I inserted two wooden blocks as braces on either end of the case and syringed glue between the two pieces of wood, then clamped them together.
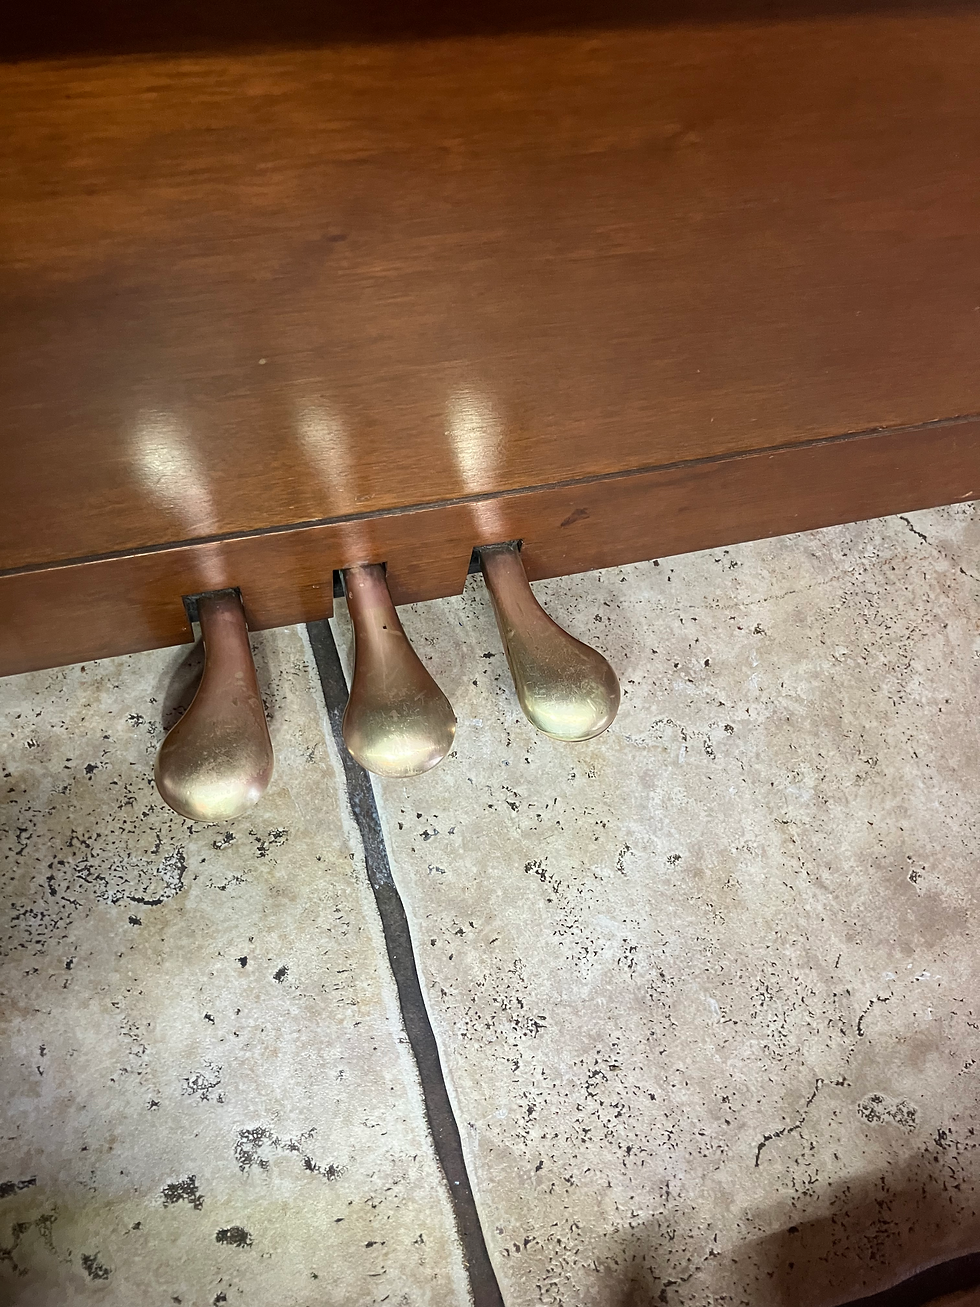
The finishing touches were to polish the screws and the pedals, and touchup the scratches in the wood case and bench.


The last step for completing the project was to tune the strings. It had been so many years since the last tuning that the pitch needed to be brought up a whole step to match A440. This required overpulling some of the strings initially to stretch the wire and tuning the whole piano several times to ensure all the strings were stable at the proper pitch.
Here you can see the difference between the pitch before and after tuning.
This project was a lot of fun and offered me many learning opportunities for piano repairs in the field and adapting to new challenges.


Comments